![]()

How to Take Cuttings

 Green fingered gardeners have great success in making more of their plants by taking cuttings. There is something very satisfying about taking a small shoot, encouraging it to produce roots and then growing it on into another plant; a touch of garden magic. However you do not really need special horticultural talents to have success with cuttings; you just need to go about it in the right way and give your cuttings a bit of extra care and attention until they are well-rooted.
What can I take cuttings of, and when?
The cuttings of some plants root easily while others are notoriously tricky. Some plants are more successfully propagated by taking softwood cuttings; these are taken from the new leafy growth, ideally without flower buds.
 Some plants root more easily from semi-ripe or semi-hardwood cuttings. These are taken from the new growth of a plant that has had time to mature by mid to late summer; camellias are a good example. If a shoot can be wrapped around your finger without breaking it is at the perfect stage for a semi-ripe cutting.
Deciduous shrubs, some climbers and fruit trees and bushes are often propagated from hardwood cuttings made when the new growth has matured and the leaves have fallen. Hardwood cuttings are really lengths of young stick which are taken in winter and root during the dormant season.
Although this is the textbook view of cuttings, you have a chance with many subjects, even if you take your cuttings at a time of year that is not recommended.
In autumn cuttings can be taken of some less hardy subjects you have grown in pots or in the garden over the summer months. Rather than attempting to keep the original plants, taking a few cuttings is a great way of overwintering them. Fuchsias, salvias and pelargoniums are easily propagated from cuttings taken in early autumn. They root quickly and are then easily kept indoors for the winter and early spring, ready for planting out next season.
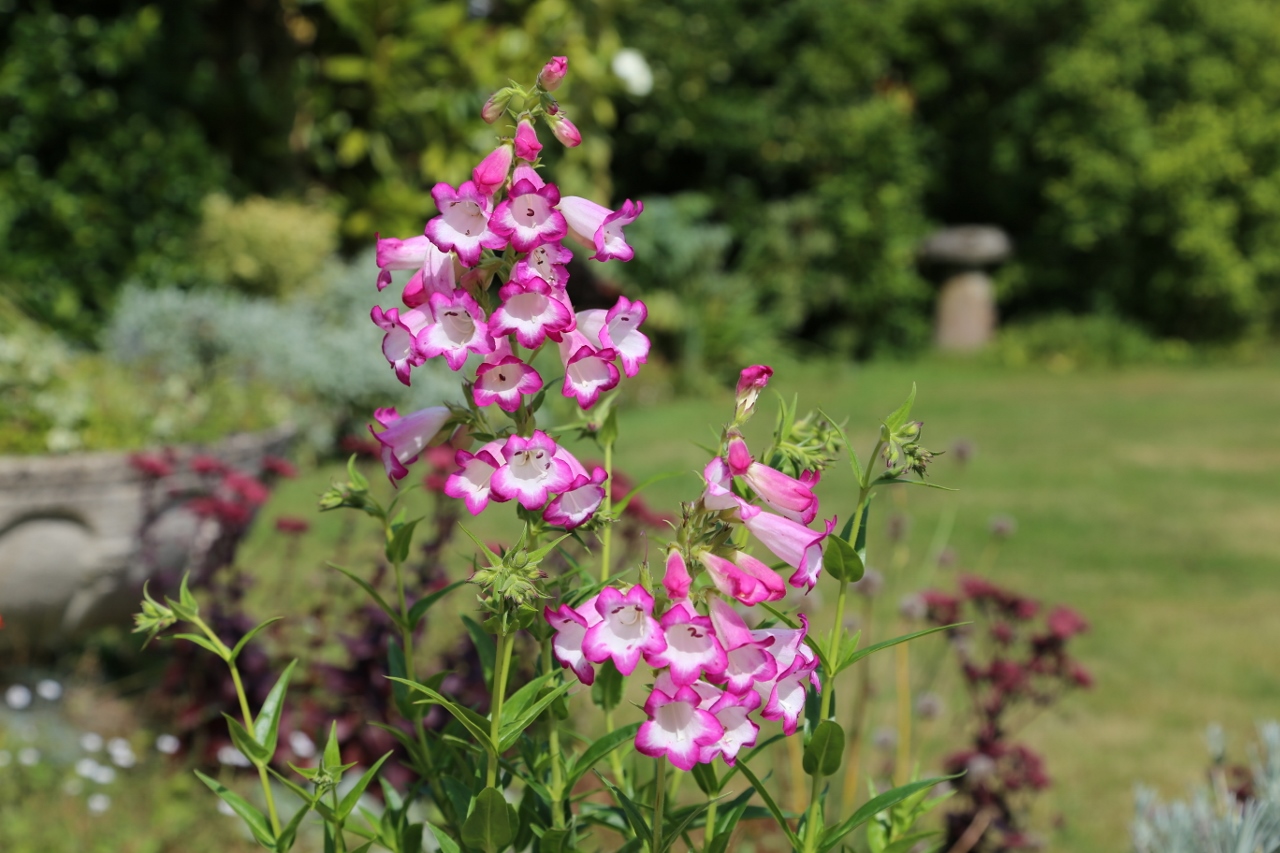
Penstemons, erysimums and hebes are also easily propagated from cuttings taken in autumn. Penstemons and erysimums are not long-lived anyway, so if you get into the habit of rooting a few cuttings each year you will have replacements waiting in the wings as plants fail.
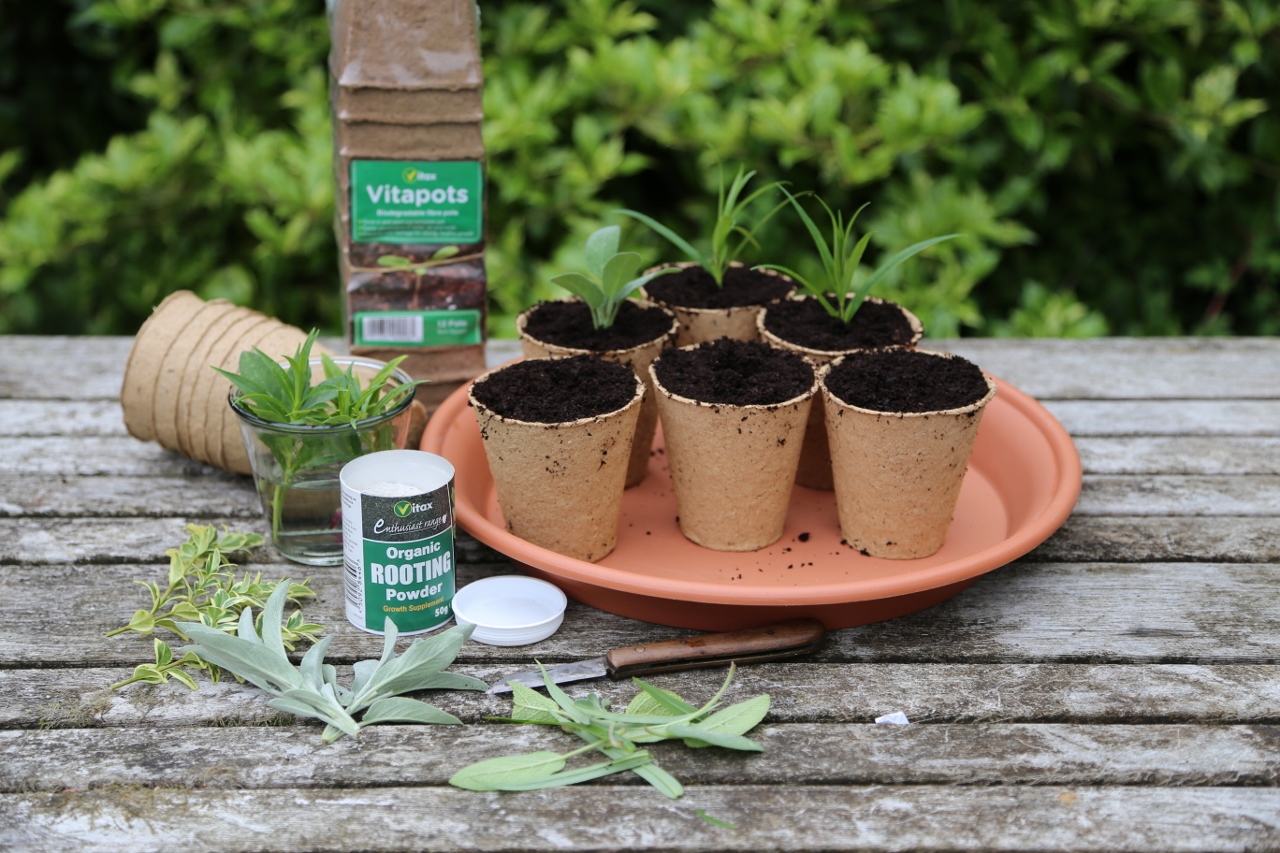
 Woody herbs are easily propagated from softwood or semi-ripe cuttings; autumn is the ideal time to do this. Sage, rosemary and lavender all root reasonably easily from cuttings. They can be overwintered outside in a sheltered spot, away from winter wet, ready for planting out next spring.
Another popular garden plant that roots easily from cuttings is box, Buxus sempervirens. As this is a plant that gardeners often want a quantity of, growing from cuttings is a highly economical way of producing a number of plants.
How to take a cutting
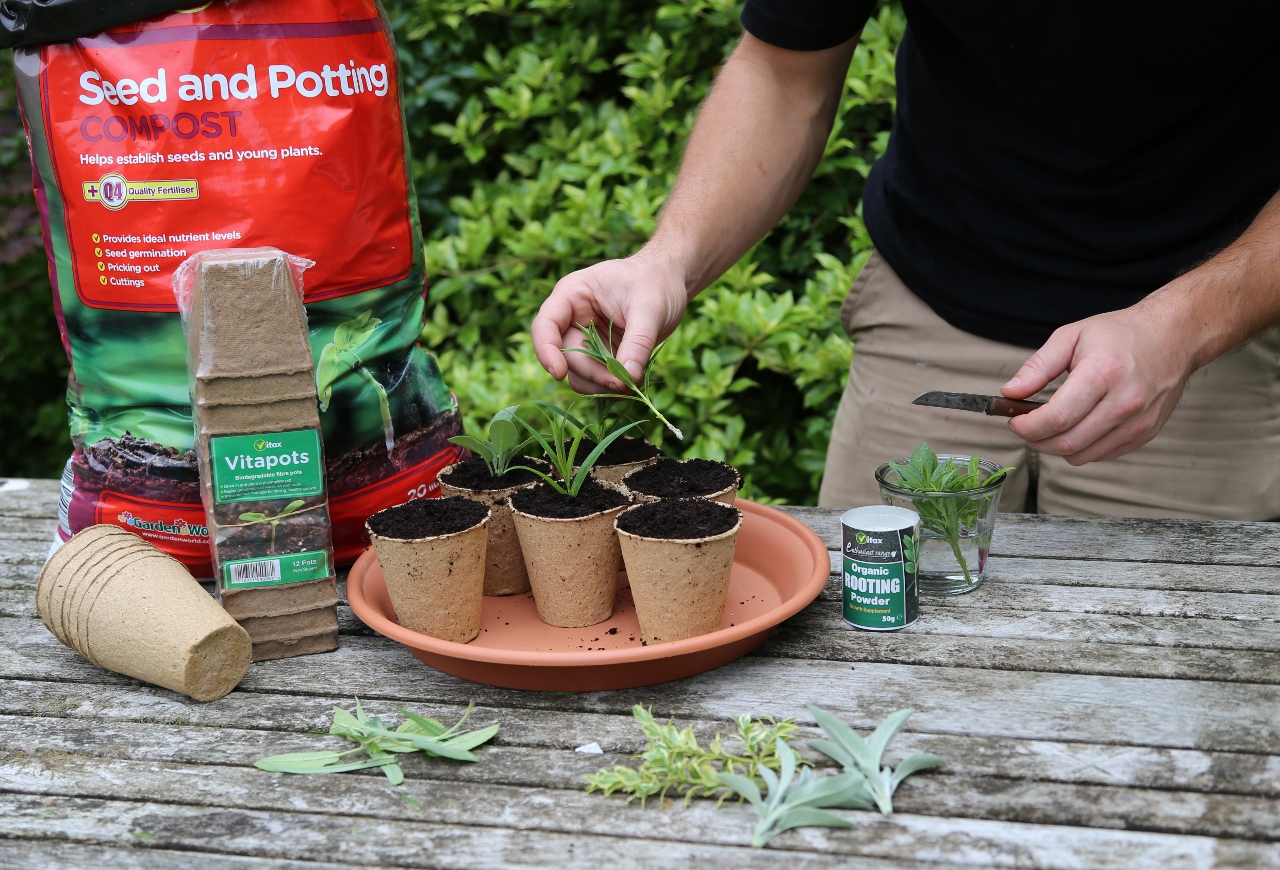
Most cuttings are taken from the tip of a shoot or from lateral shoots. Around 10cm (4”) is a good length to aim for, although it does depend a bit on the subject. Use a sharp knife to trim the stem, cutting just below a node (where the leaves join the stem). Side shoots can be removed from a main stem by pulling away at a “heel”. The heel is then trimmed to tidy the cutting, but leaving most of it in place.
The lower leaves are removed to leave a length of clear stem that can be pushed into the growing medium.
If taking a number of cuttings, prepare them and keep them in a plastic bag in a cool place for a few minutes until you are ready to plant them. From the minute the cutting is separated from the plant, to when it produces roots it is entirely up to you to look after it and keep it alive: the main thing is to prevent it from drying out.
Planting your cuttings
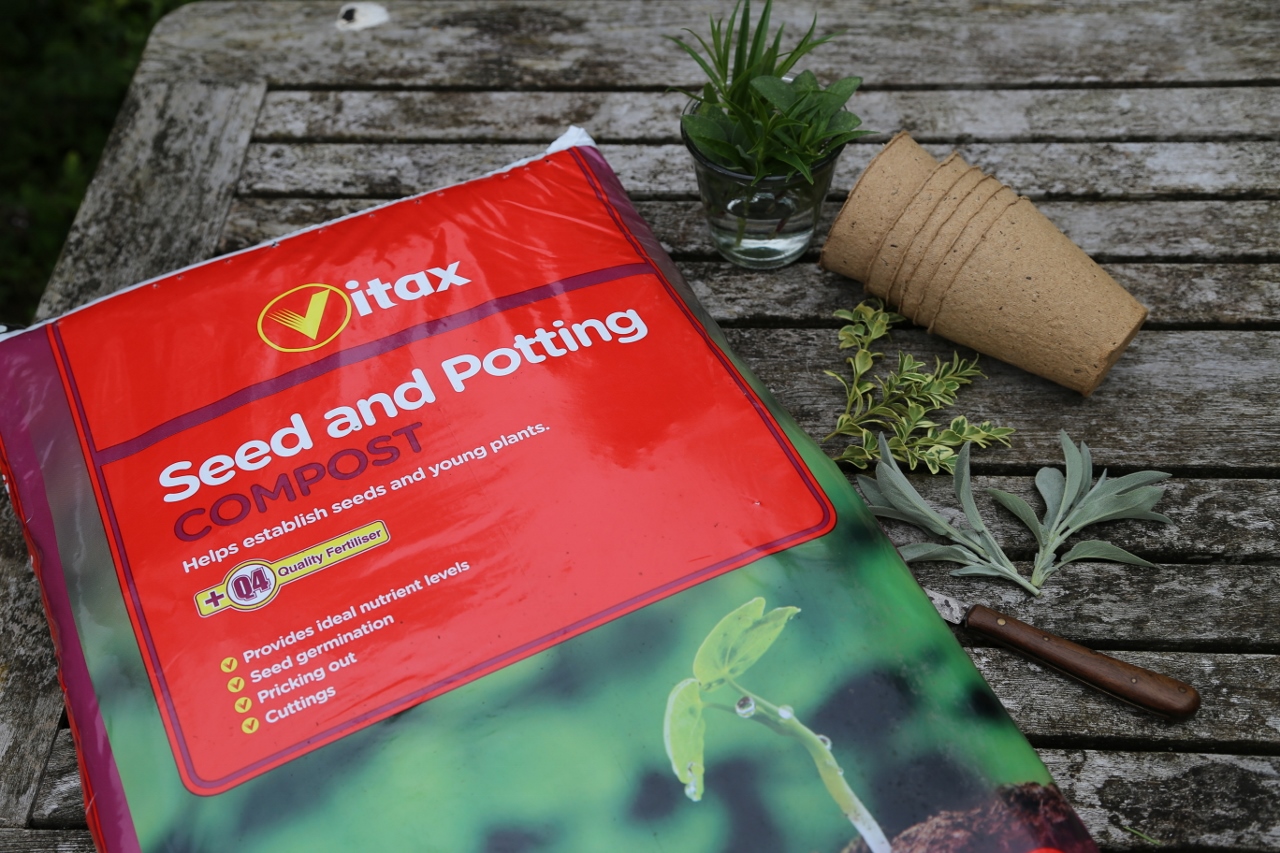
Any old growing medium just will not do, you need a specially formulated mix which stays moist and stimulates root development. A growing medium with lots of available fertiliser can impede young root development, but slow release nutrients that gently feed are perfect. A seed and potting compost is ideal. It should contain just the right quantity of fertiliser for seed germination and rooting cuttings.
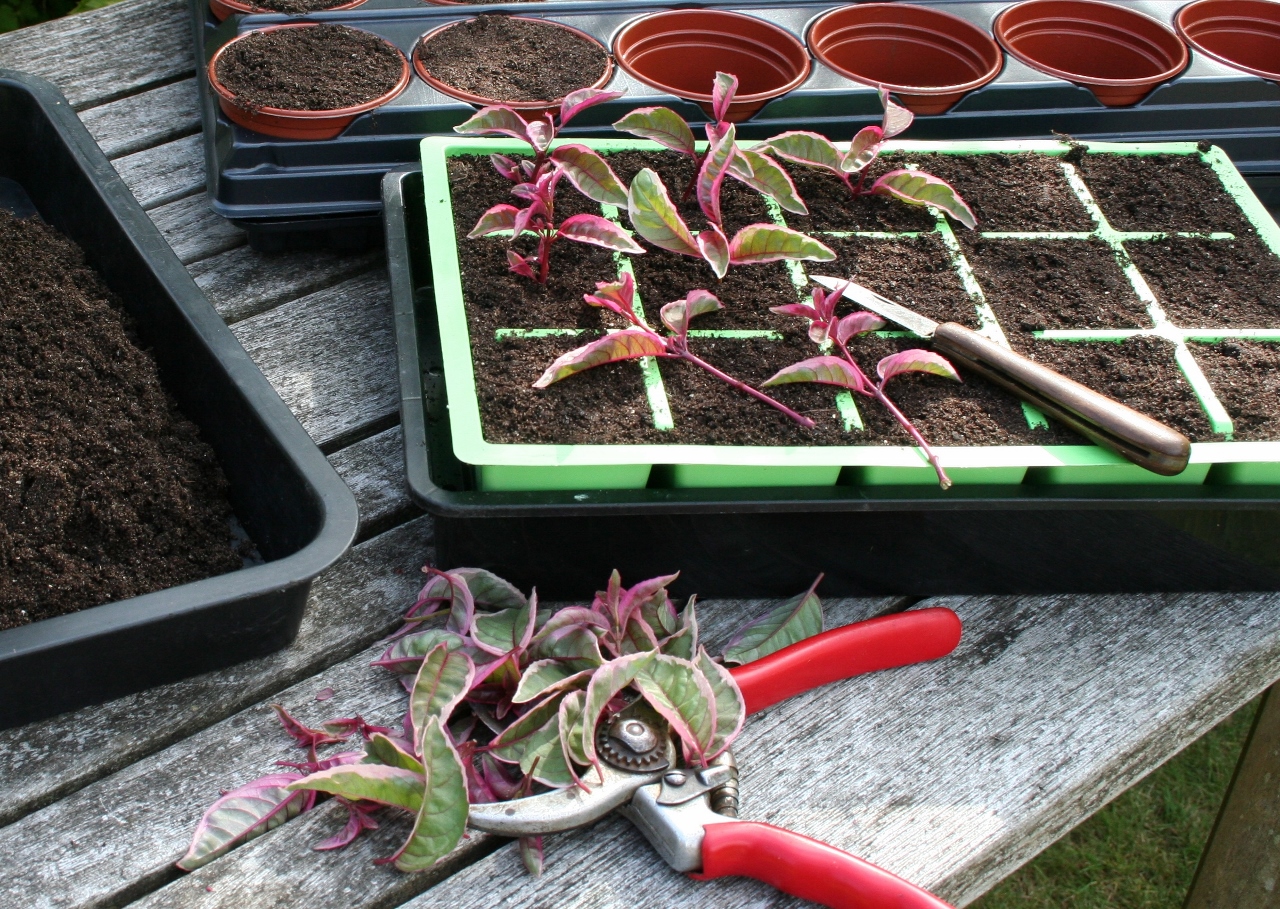
 Hygiene is really important, so use clean pots or cell trays, never dirty used ones. If re-using plastic containers, wash them thoroughly before use.
Lightly fill your pots with a seed and potting compost. Then using a dibber (an old biro works just as well) make a hole deep enough for the lower 4cm (1.5”) of the cutting stem). Dip the cutting in clean water, shake off any excess and dip it into Vitax Organic rooting powder. Shake off any excess by tapping the cutting on the edge of the container, pop it in the hole and gently firm the growing medium around the stem of the cutting. Water thoroughly.
Getting them to root
Keep your cuttings out of direct sunlight but in a warm, sheltered space. As weather gets colder they may root more successfully in a cool place indoors. You can stand the pots in a tray and enclose pots and tray in a clear polythene bag to prevent water loss.
Check it regularly and make sure the bag is not becoming excessively wet with condensation. This can cause fungal disease and decay of your cuttings, especially as the days get shorter and if the cuttings are in cool conditions. Rooting can take anything from two weeks to two months; as long as they are alive they should still root and grow.
As they grow
 As cuttings start to produce new growth they have most certainly produced roots. By spring, cuttings taken in autumn are due for some extra nutrients; feeding with Vitax Organic Liquid Seaweed fertiliser is ideal; this stimulates growth and helps increase resistance to disease and the stresses of planting out or potting on.
Andy McIndoe for Vitax
Products you will need to complete this project
You might also be interested in...
Trusted by generations of gardeners


Your login details have been used by another user or machine. Login details can only be used once at any one time so you have therefore automatically been logged out. Please contact your sites administrator if you believe this other user or machine has unauthorised access.