![]()

Planting container grown roses
Roses are such rewarding plants, many bloom from early summer through to autumn bringing colour and fragrance to your garden. They fit into so many situations with other shrubs and perennials, in pots on the patio or alongside other roses in beds and borders. Traditionally they are planted in autumn and winter as bare root plants lifted from the fields where they are grown. Today they are also sold as container grown plants, enabling you to buy and plant them at any time of the year. There are few more tempting plants on any garden centre or nursery than a beautiful rose in full bloom.
Roses are easy to grow; all they need from you is a little care and attention. The most important thing to remember is that whatever type of soil you have a rose needs feeding. These are hungry plants that need plenty of nitrogen for heathy leaves and stems, abundant potash for blooms as well as iron, magnesium and other nutrients for optimum growth. These are unlikely to be supplied by garden compost or well-rotted manure alone, they need a correctly formulated rose fertiliser.
You can plant a container grown rose at any time of the year, if you give it the best possible start. First of all prepare the ground thoroughly, remove any weeds and add plenty of organic soil conditioner. Well-rotted manure or good garden compost is ideal for this: roses like rich, moist soil.
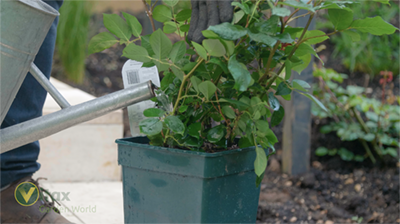
Water the plant in its pot thoroughly before you start, this helps to keep the root ball intact when you plant. Roses have a wiry root system that does not produce a stable root ball. If the compost is dry it may be best to soak it in a bucket of water. If you plant your rose when the compost is dry water may fail to penetrate the root ball and the plant will suffer.
Now dig a hole that is a little deeper than the rose pot and break up the soil in the base of the hole to encourage the roots to move out from the root ball and establish themselves in the ground. Add a generous handful of Vitax Rose Fertiliser to the soil you will use to backfill the hole and sprinkle some in the bottom of the planting hole.
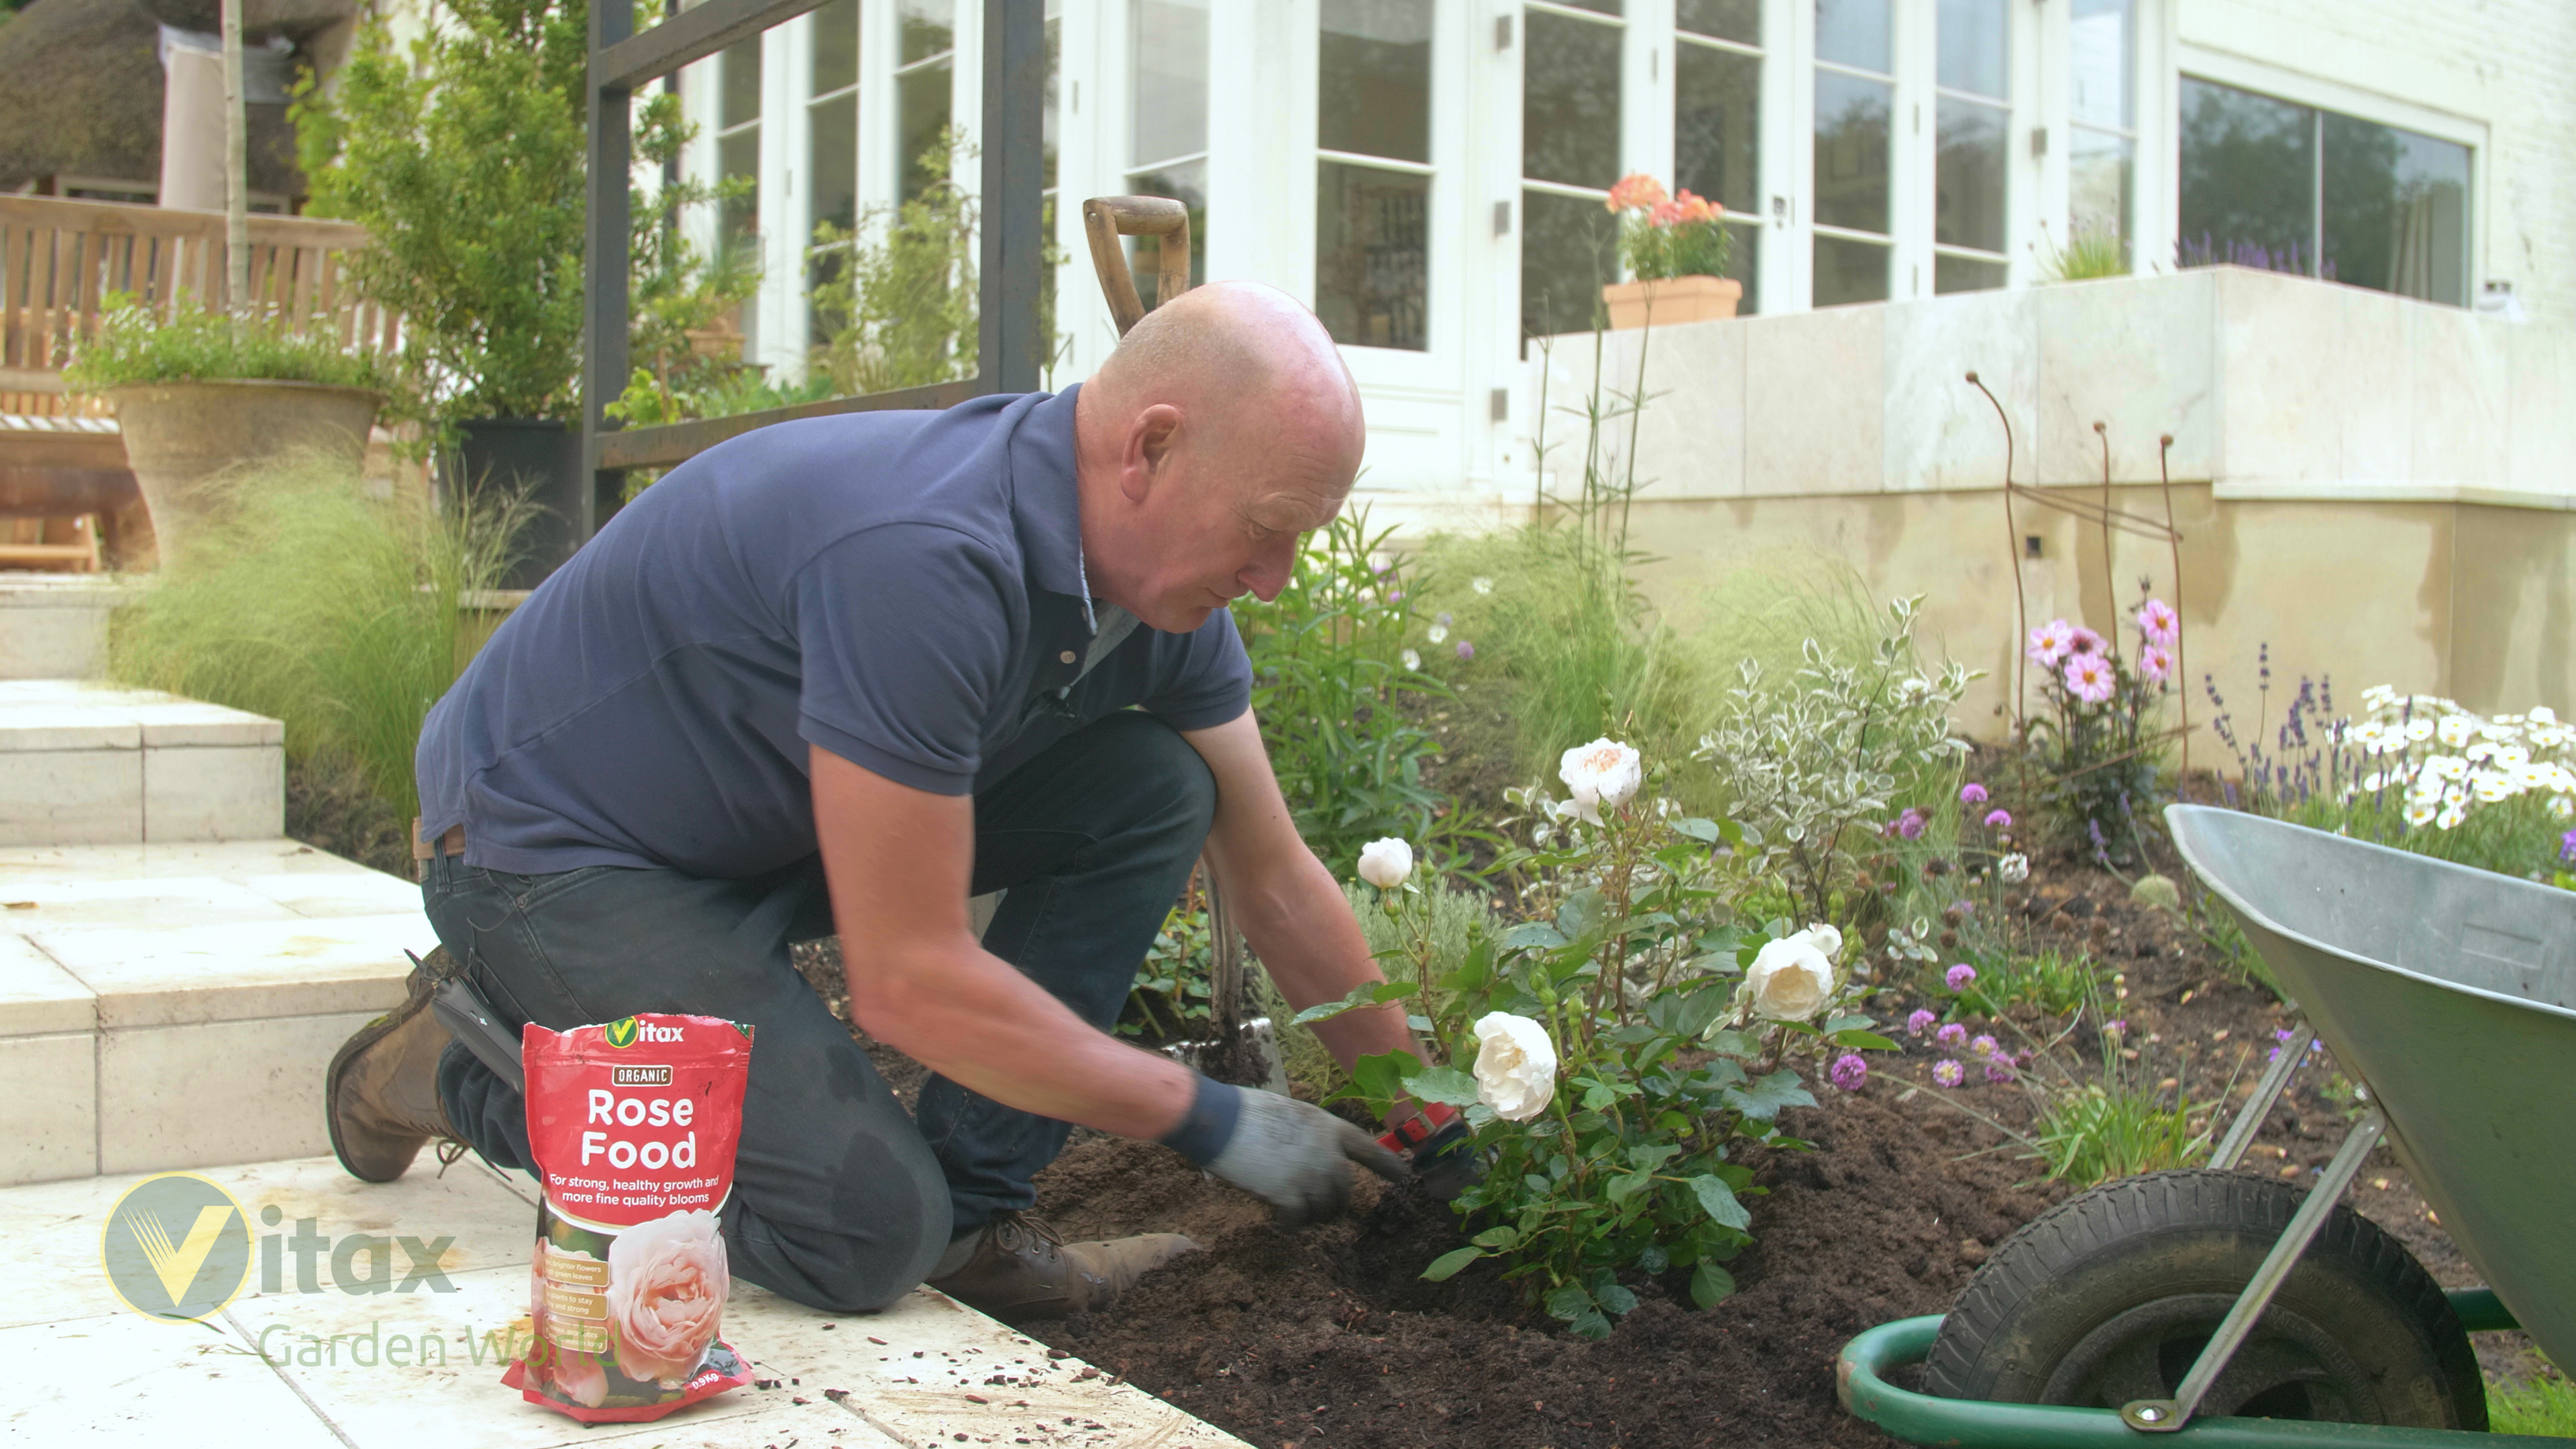
Now carefully remove the rose from its pot and position in the hole. If some of the growing medium falls away, do not panic. The surface of the compost should be a little below soil level. Today we plant our roses with the bud union below the soil surface to encourage rooting of the growing shoots.
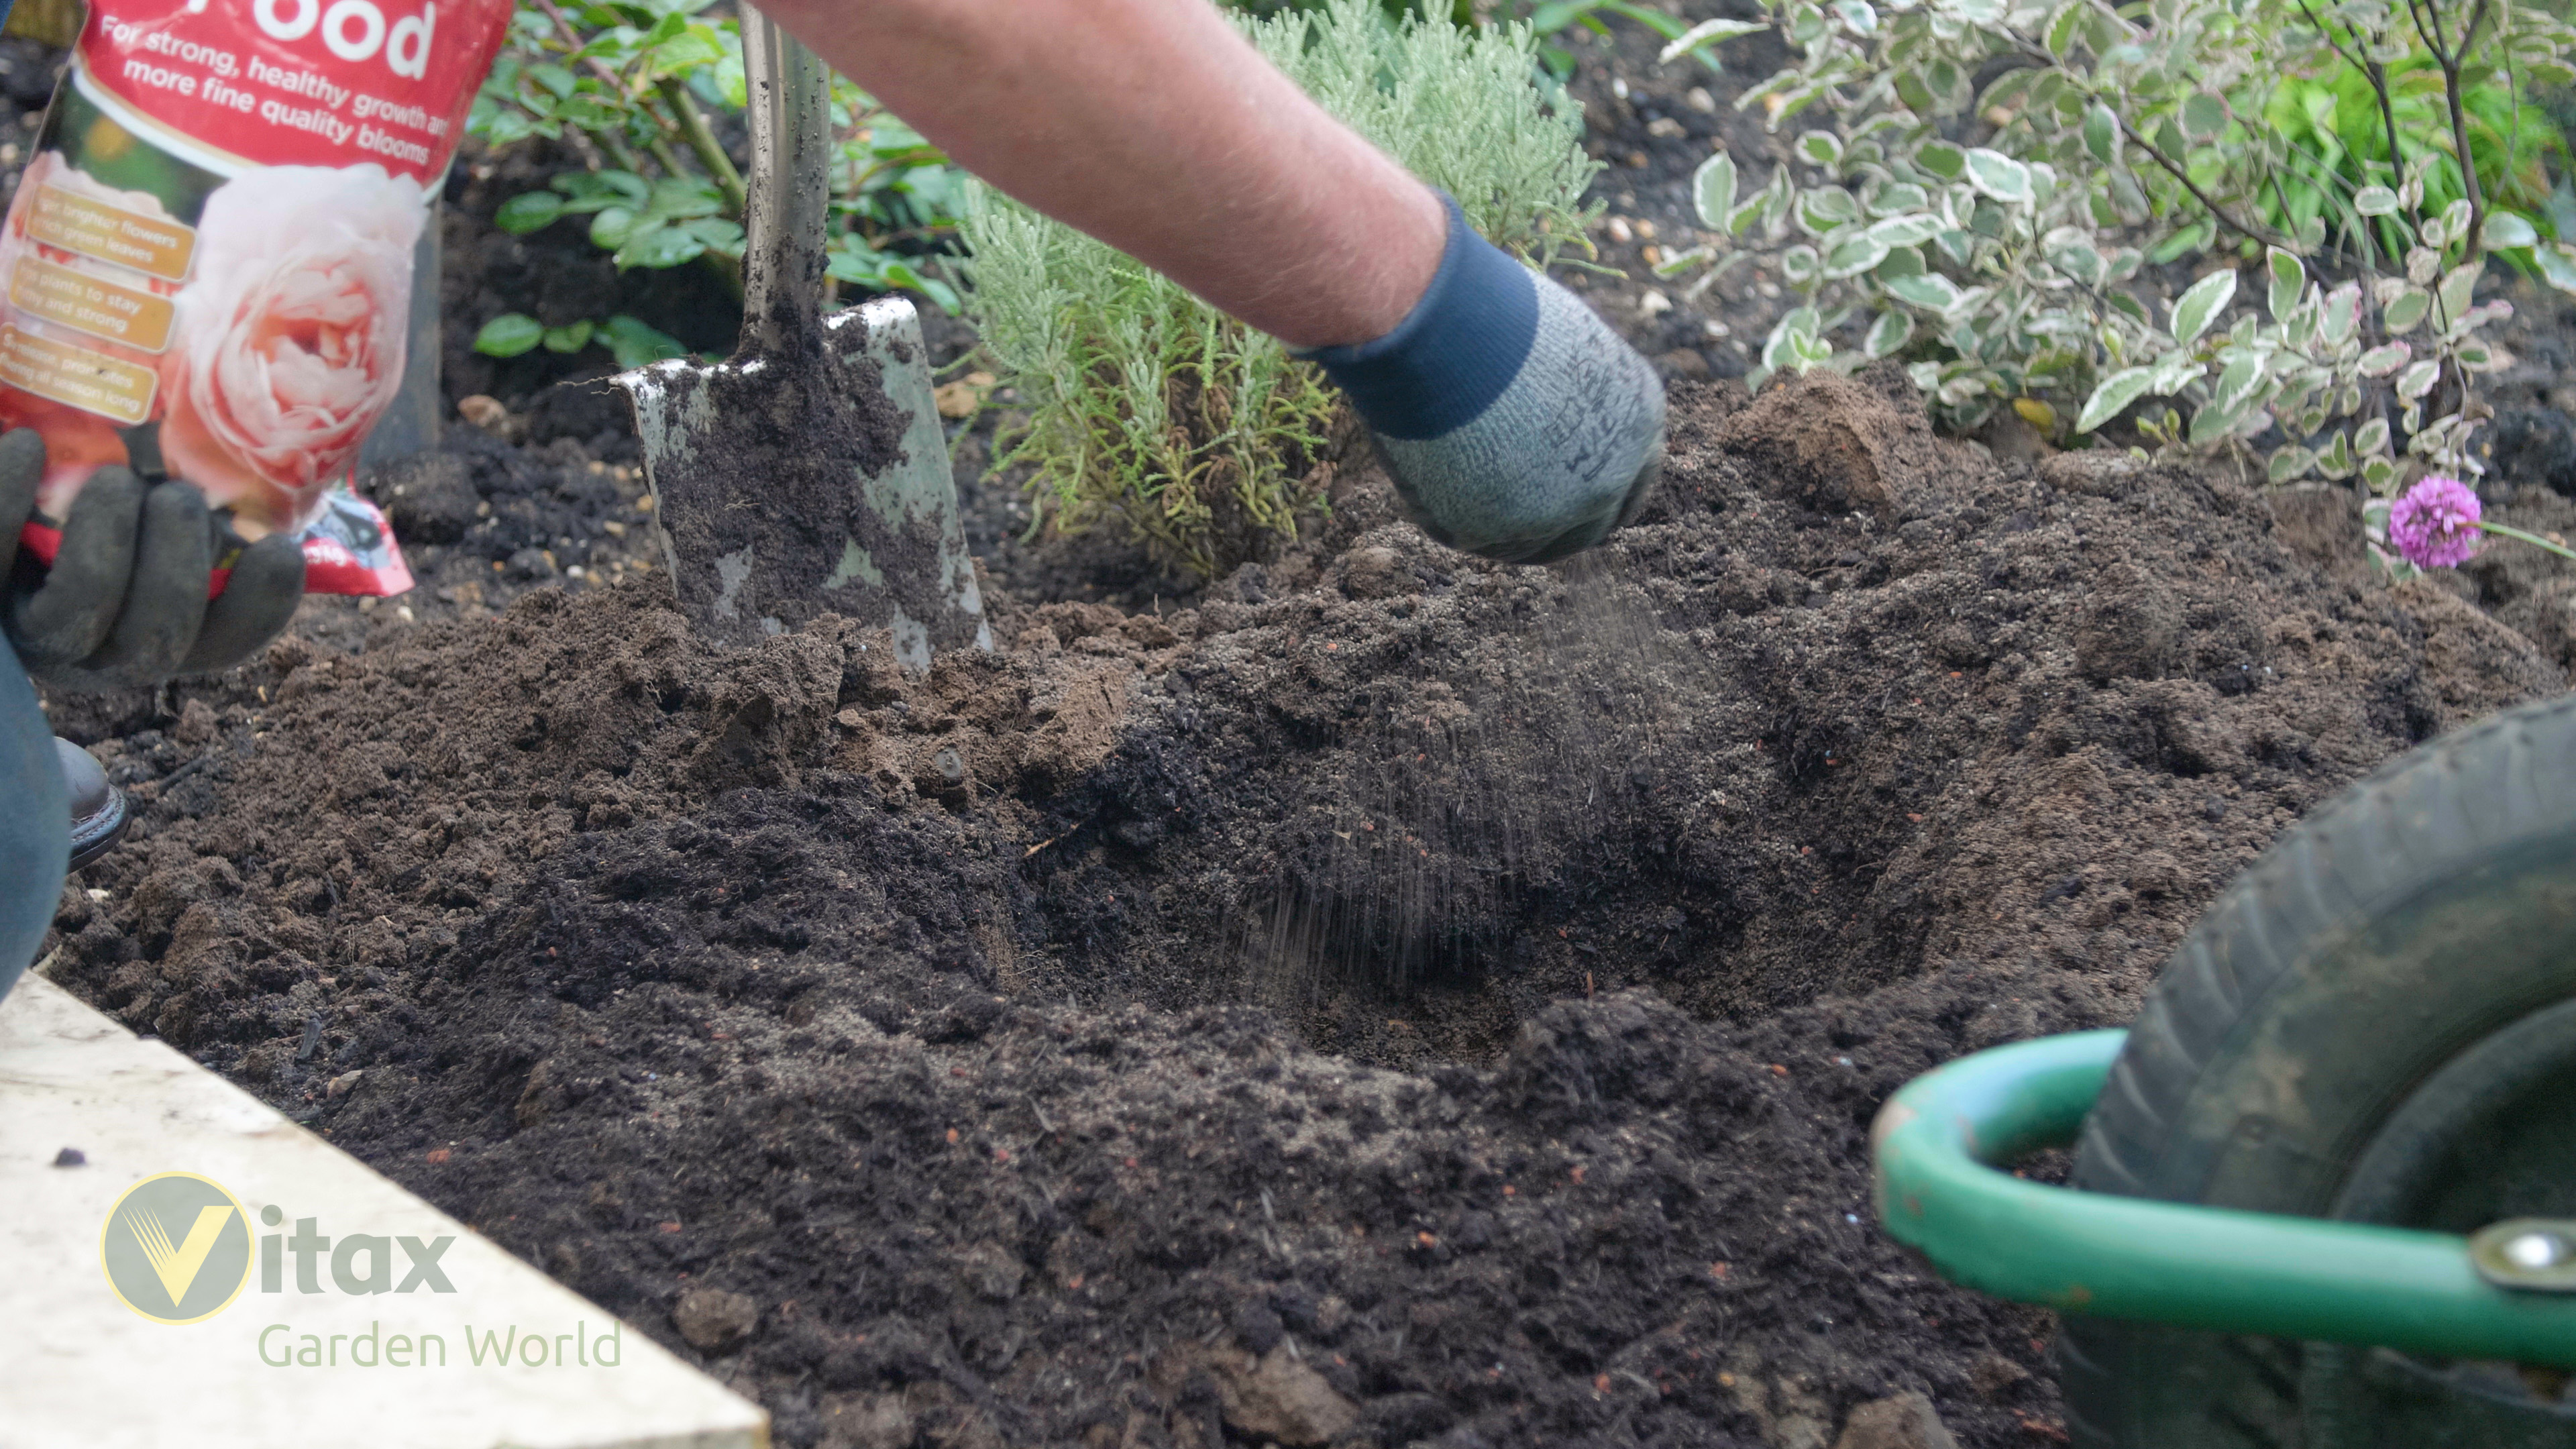
Now backfill around the rose carefully mixing in the Vitax Rose Fertiliser as you go. Firm the soil around the root ball with fist or heel. Try to push the soil into the roots from the sides and avoid pushing down from the top of the rootball.
Now water the plant thoroughly. This is essential whatever the weather because it settles the soil particles around the roots. Never make the mistake of leaving out the watering just because it is raining, or because the soil is moist. You will need to water regularly for the rest of the first season if the weather is dry. In fact roses really respond to watering in dry weather however long they have been in the ground.
Regular feeding with Vitax Rose Fertiliser in spring and again in midsummer, together with watering in dry weather, helps to keep your roses healthy, disease resistant and blooming freely. The second application of Vitax Rose Fertiliser in summer is particularly important to recharge your plants after that first flush of blooms.
Products you will need to complete this project

You might also be interested in...
Trusted by generations of gardeners


Your login details have been used by another user or machine. Login details can only be used once at any one time so you have therefore automatically been logged out. Please contact your sites administrator if you believe this other user or machine has unauthorised access.