![]()

Preparing a New Bed or Border

Creating a new bed or border is a bit like decorating a room in the house. You have an idea of what it might look like, but there is a fair bit of work to do before you achieve a finished result. The secret of success is not to cut corners but prepare properly, choose your plants wisely and take your time. A hurried job rarely produces the best results.
Straight or curved?
It may seem obvious to lay out the borders in your garden to follow the fence line. However that accentuates the shape of the garden, defining the boundaries, rather than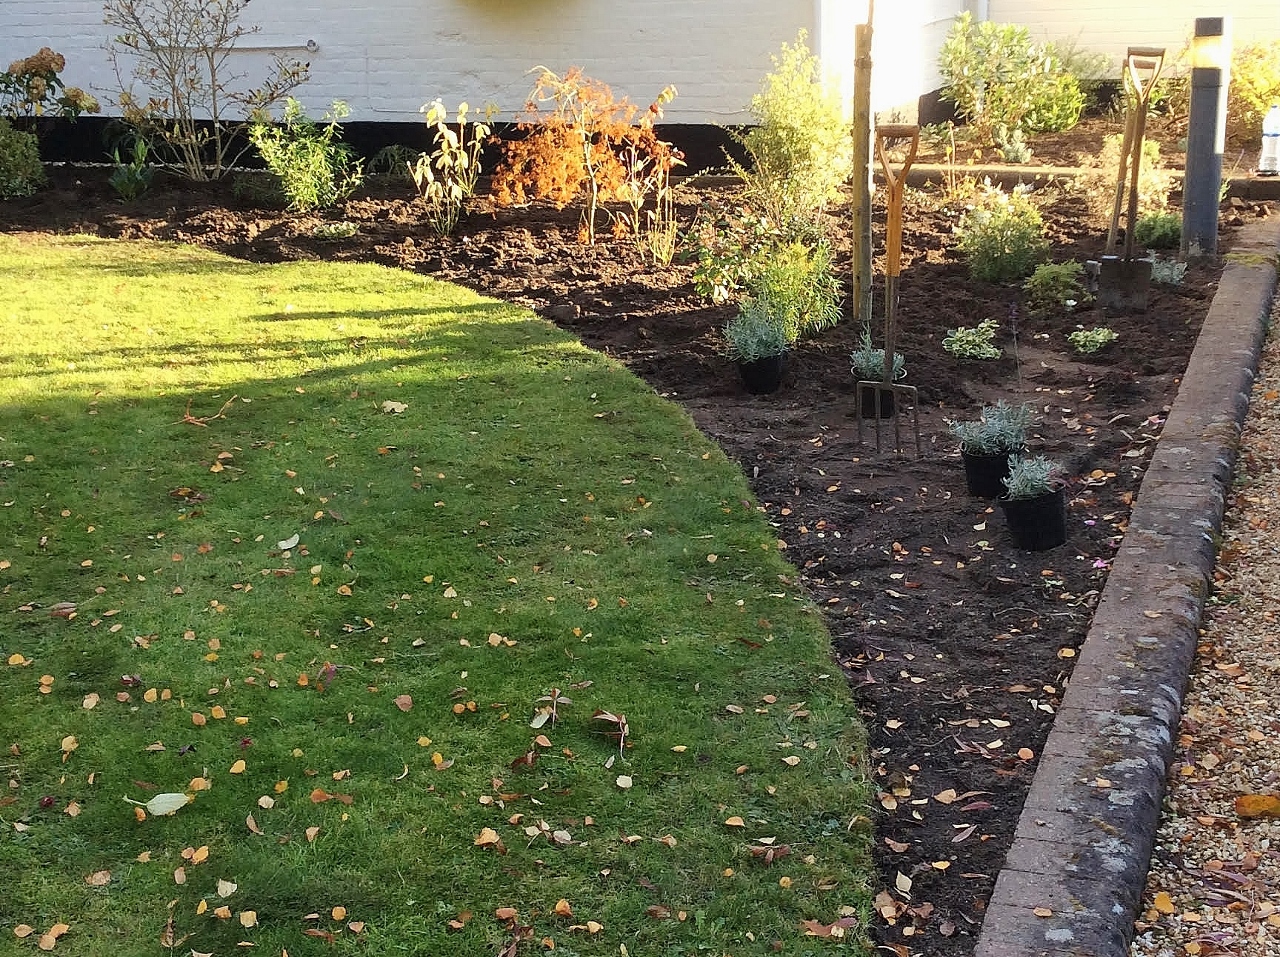 making your plot more interesting. Gently curved borders, deeper in the corners, soften the edges and can make the space look larger. Simple sweeping curves are best. Avoid wavy edges, they look contrived and fussy and are difficult to maintain. Straight borders, which create strong angles, can look effective, especially in small gardens if you want a more formal or contemporary effect.
Make those borders wide enough
Whichever you choose, make your borders wide enough. A narrow border along a boundary is useless, unless you just want to grow climbing plants. Even then it is best to plant them at least 30cm (1ft) away from a wall or fence. Wider borders are easier to manage, because they give your plants the space to grow and you will not have to keep cutting them back to contain them in the space. It is better to have fewer planting areas, but make them bigger. One metre wide is really a minimum, two metres better. Just go out and measure the width of a single shrub, rose bush, or perennial and you will see how much space is needed.
It is particularly important to have enough space in a bed or border where you want to plant larger shrubs or trees, perhaps to screen a neighbouring property, or just as a backdrop to your garden.
Removing the turf
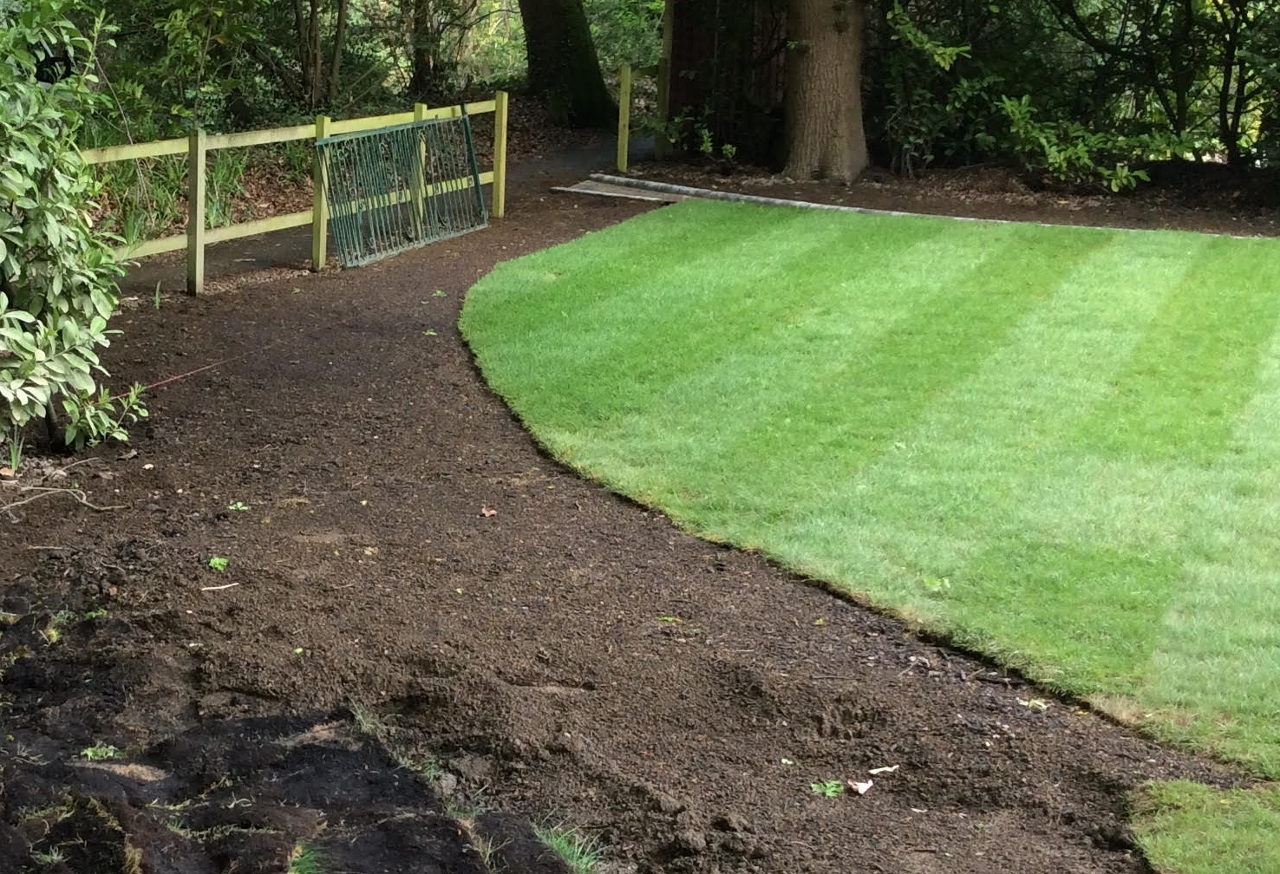 If the area of your new bed or border is covered in grass, then the first job is to remove it. In most cases this is best done manually, rather than using a weedkiller. When you have marked out the planting area cut around it using a sharp spade, pushed into the ground vertically to the depth of a few centimetres. If you are unsure about the line, be conservative. It is easy to take away more grass, but much harder to put it back. Then remove spade-width strips of grass by cutting around them and slipping the spade under them just beneath the soil surface. These can be stacked face down in a corner of the garden and allowed to rot. They will produce some nice, loamy soil for use later.
Get rid of the weeds
If there are any perennial weeds, you must tackle those before you start planting. Bindweed, thistles, ground elder, nettles and other perennial weeds will re-emerge from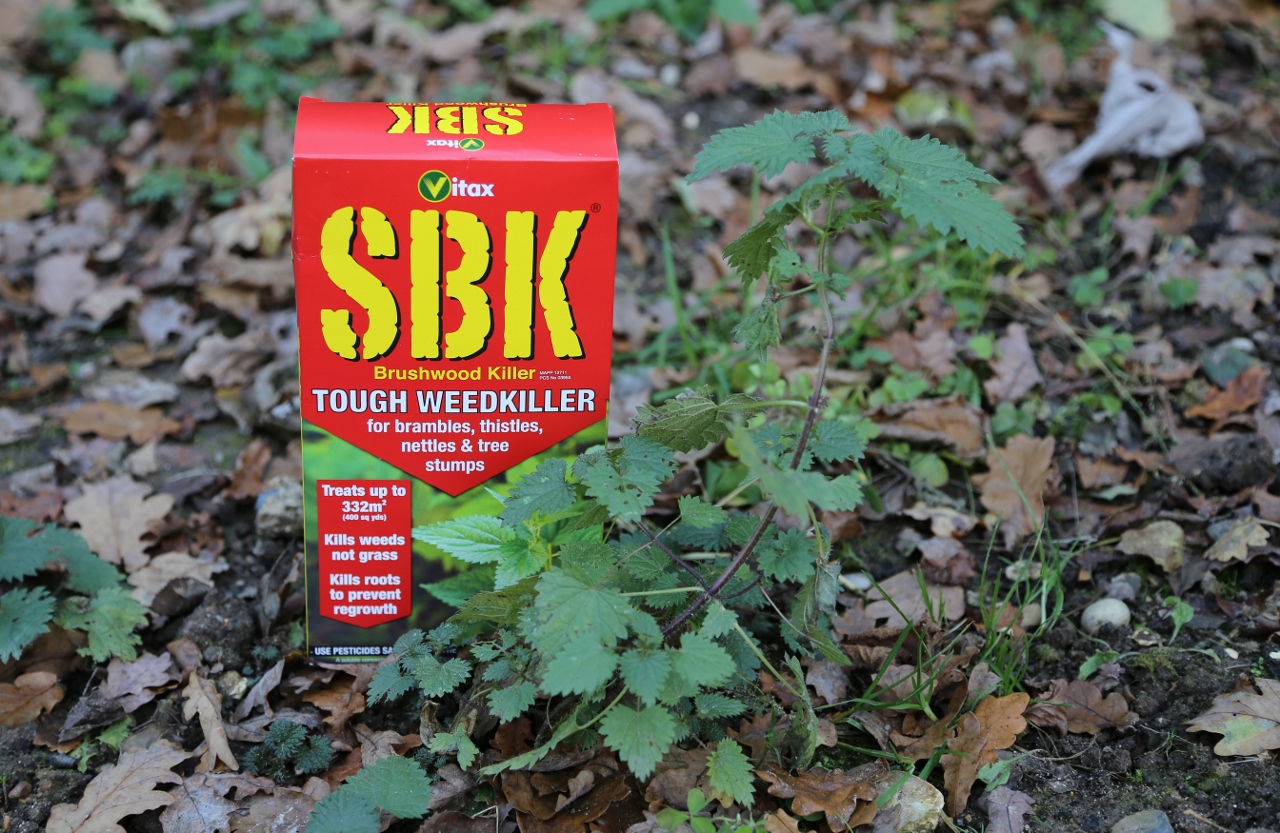 root fragments you leave in the soil as you dig. If you have light, sandy soil it may be possible to dig them out carefully, but in most cases it will be necessary to use a weedkiller. Effective herbicides that control perennial weeds without permanently damaging the ground do not work on bare soil. They must be applied to weeds in growth. So allow them to develop plenty of leaves, then treat with SBK Tough Weedkiller. This gets right down to kill the roots and will kill even woody weeds, but not grass. It takes time to work and may mean you have to delay planting; you must not replant for six weeks after application anyway. If the weed problem is serious it will be worth it.
Conditioning the soil
 When the ground is clean, fork it over thoroughly to a depth greater than the head of a digging fork. You may prefer to use a spade. If the soil is heavy a border spade is easier and lighter to use. Next add plenty of organic matter; this improves the texture of the soil. It makes it easier to cultivate and it helps your plants' roots to penetrate the soil and get established. Soils that are rich in organic matter are better at hanging on to water and nutrients, therefore plants grow more successfully.
6X organic manure is a great way to condition soil without the need to add vast quantities of bulky organic matter. It's light and easy to handle and perfect to boost fertility and improve soil texture. For best results rough dig the soil leaving it in large clods, apply 6X, leave for a few days and then fork it over.
If the soil is incredibly sticky, in other words clay, or very compacted you will get better results by applying Clay Breaker. This breaks up that sticky mass into crumbs that are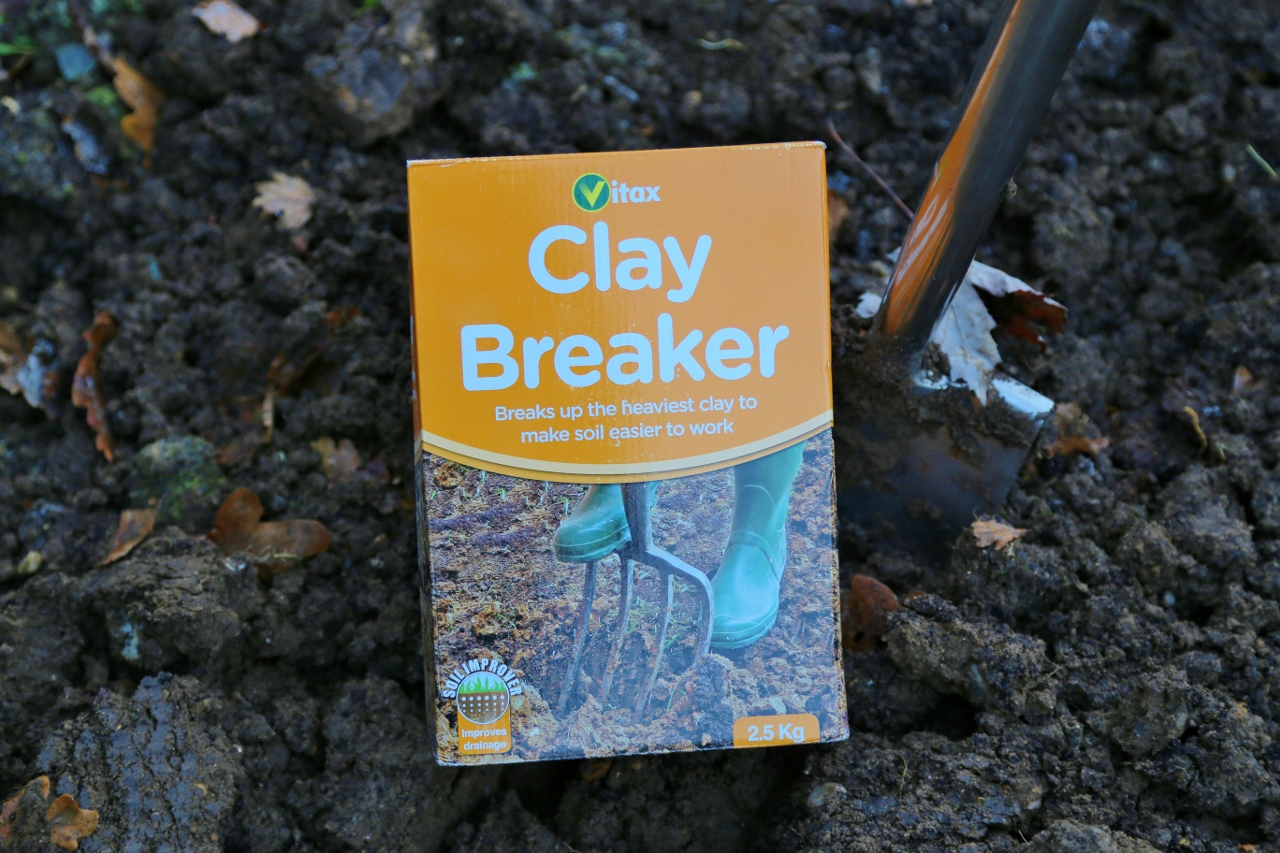 easier to cultivate. The Clay Breaker granules are easy to apply over roughly dug ground at any time of the year, however autumn and winter is the ideal time; preparing the ground ready for planting in spring.
And now to plant….
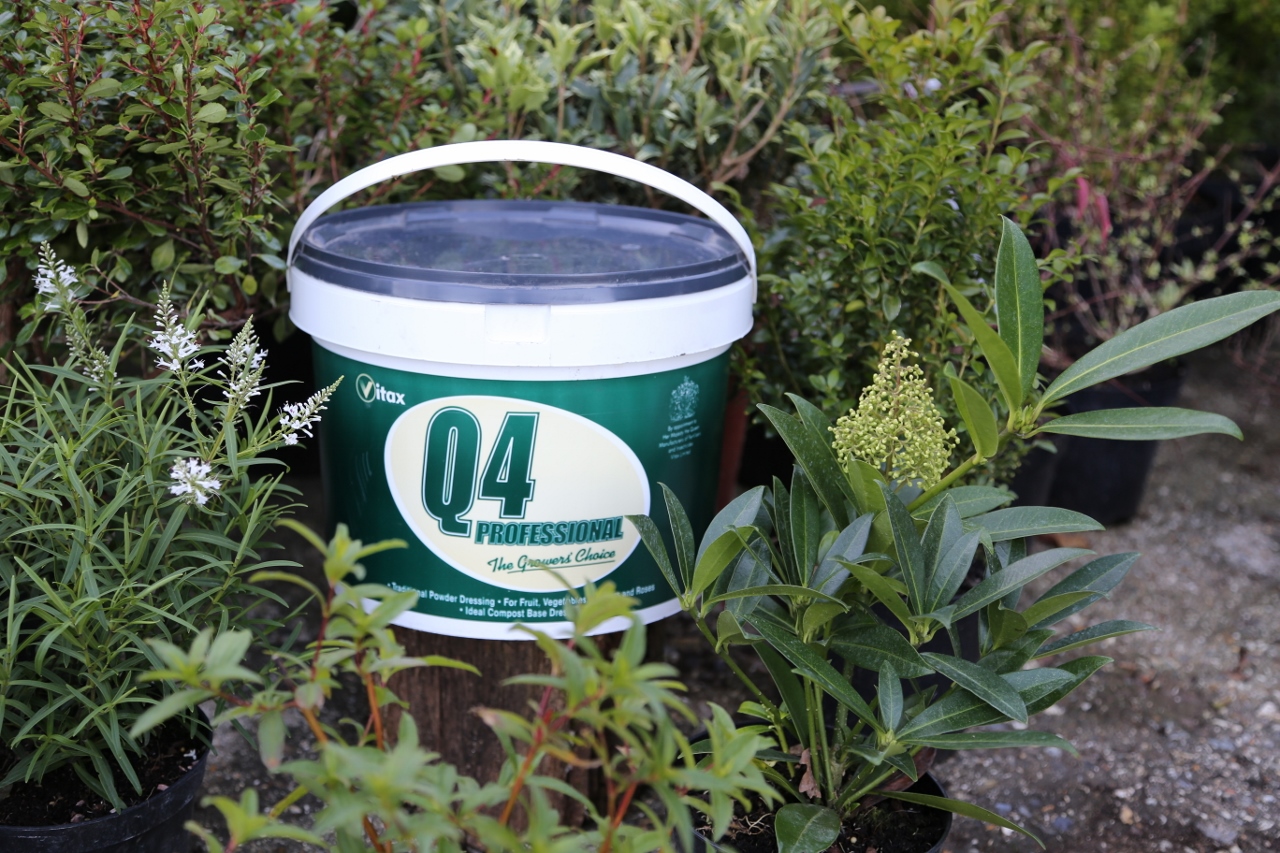
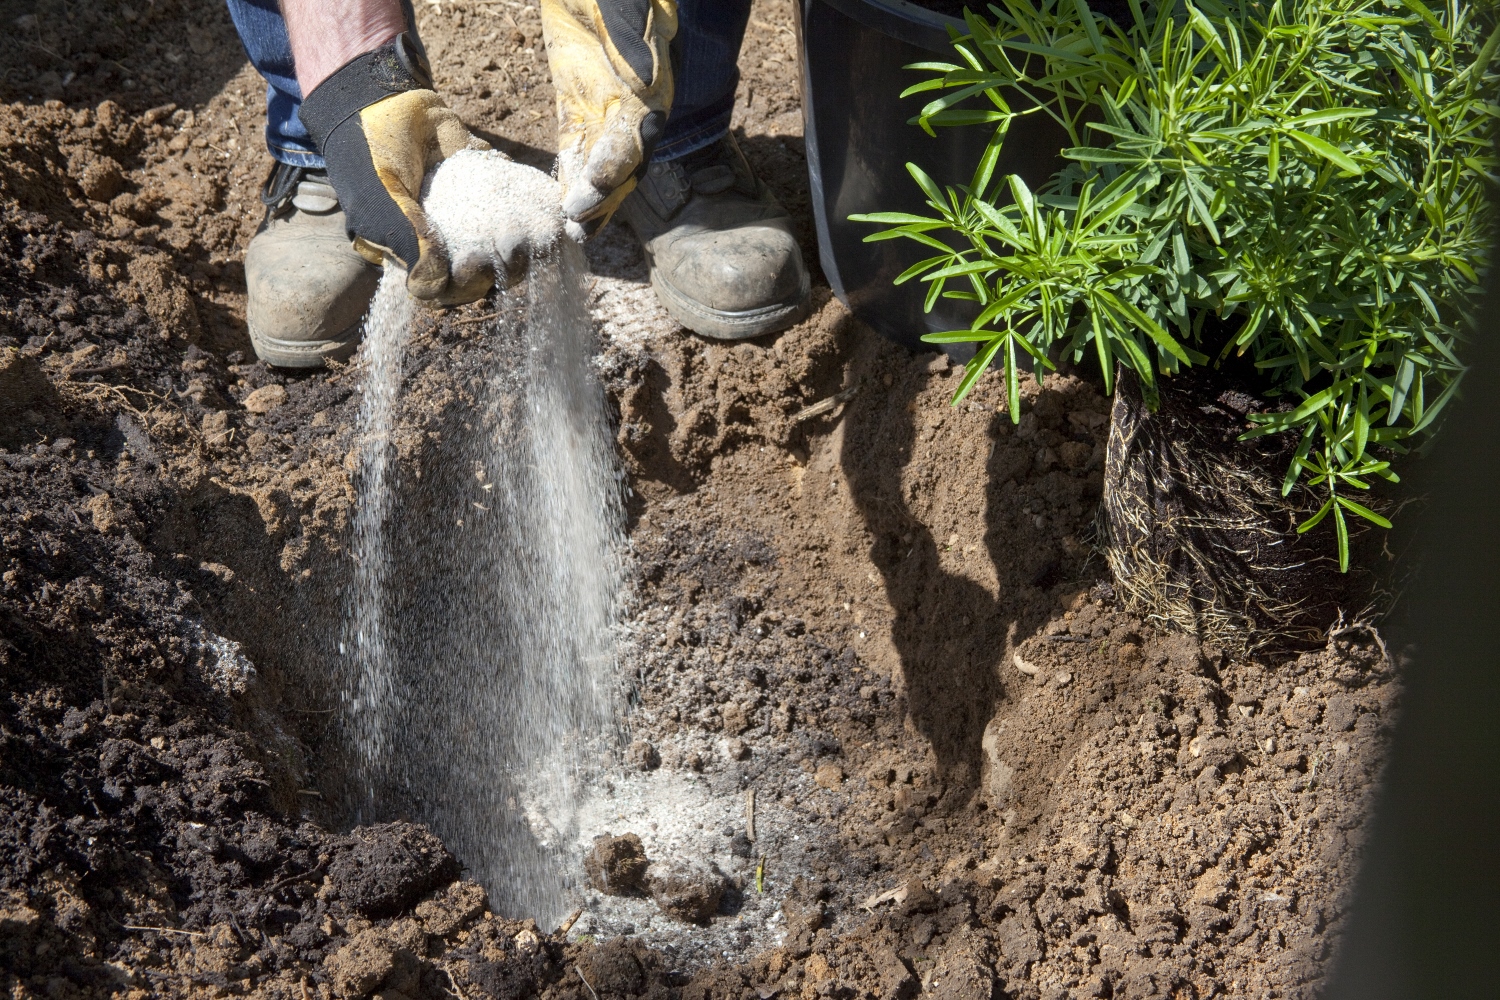
When your soil is well prepared it’s time to get your plants together. Large specimen shrubs (often in 7.5 or 10 litre pots) give a more immediate impact. However a combination of a few specimen plants of key subjects, combined with standard 2 and 3 litre shrubs and perennials gives a scheme more variation and a more mature appearance from the outset. To give them the best possible start add a couple of handfuls of Vitax Q4 professional to the soil when you plant each one. A little in the bottom of the planting hole and the rest mixed with the soil you will backfill around the roots provides your new plants with all the nutrients they need for establishment, growth and flowers.
Andy McIndoe for Vitax
Products you will need to complete this project
Trusted by generations of gardeners


Your login details have been used by another user or machine. Login details can only be used once at any one time so you have therefore automatically been logged out. Please contact your sites administrator if you believe this other user or machine has unauthorised access.